Last Updated on February 15, 2022
Regular oil changes are essential to extending the life of any engine. Luckily, changing a vehicle’s oil is typically a straightforward affair that generally takes no longer than 30-minutes to complete.
With a little bit of know-how and a few basic hand tools, most motorists can change their own oil without even the slightest of issues.
On occasion, however, an oil change can present unforeseen difficulties. Perhaps the most significant of these difficulties are those that arise from a stripped (or rounded) drain plug. Since drain plug removal is essential to the completion of any oil change, such issues can bring even the best of efforts to a halt.
Furthermore, a stripped drain plug can lead to oil loss, if the plug is unable to be properly tightened. This leaking oil can often be seen on the underside of an engine’s oil pan. In such cases, a proper repair will be necessary to prevent extensive oil loss and eventual engine damage.
Read on to learn more about how to remove a stripped drain plug, should you find yourself faced with such issues in the future.
See Also: How to Remove a Stuck Oil Filter
How Does an Oil Drain Plug Get Stripped?
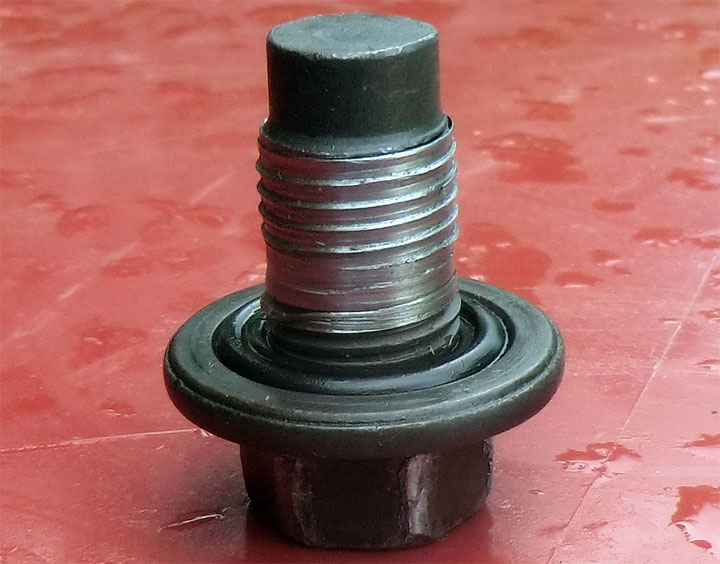
The term “stripped” oil drain plug (or oil pan plug) is typically used to describe one of two conditions. These issues differ from one another in context, as well as possible means of repair.
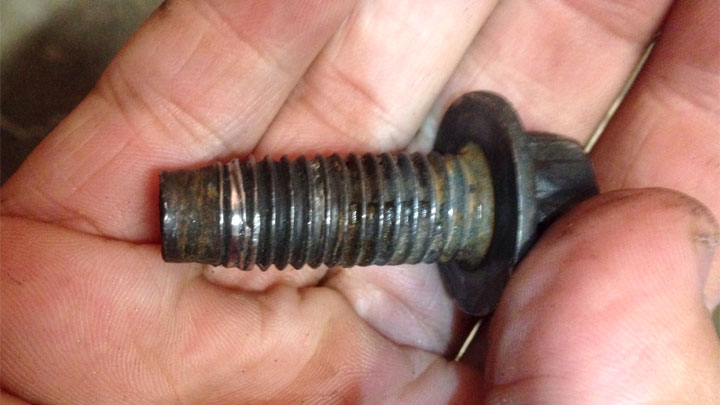
The first of these conditions involves damage to the threads of an oil pan’s drain hole. This damage prevents a drain plug (or oil pan bolt) from being properly torqued.
This condition often results in continual oil leakage and should be repaired at the first available opportunity. A failure to correct such issues can result in engine damage, at the hands of excessive oil loss.
Stripping of a drain plug or oil pan’s threads generally comes as the result of prior over-tightening. All drain plugs carry a specific torque, to which they should be tightened during reinstallation. If this torque value is ignored, and over-tightening occurs, damage to the threads of a drain plug or oil pan can come as a result.
See Also: 6 Symptoms of a Bad Oil Pan Gasket
The second condition often described as a “stripped drain plug” actually refers to the rounding-off of a drain plug’s hexagonal head. This prevents a wrench or socket from being properly applied to a drain plug during removal.

As a result, one is unable to drain the old oil from an engine’s crankcase. Ultimately, this issue must be corrected before an oil change can be completed.
The most common cause of a rounded-off drain plug is the use of an improperly sized wrench or socket during prior removal/installation. This often occurs when a standard socket is used in a metric application or vice versa.
Once a drain plug’s head begins to round off, further rounding over the course of successive oil changes is imminent.
How to Remove a Stripped (or Rounded) Oil Drain Plug
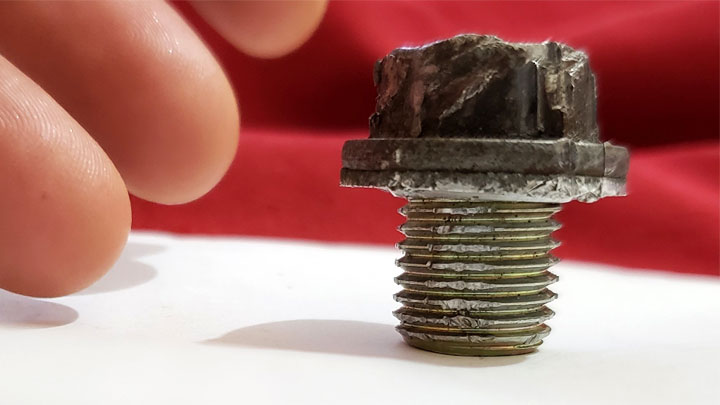
As previously mentioned, the term “stripped drain plug” is often used to describe two different conditions. The procedure for remedying each of these two issues also differs. However, with patience and a steady hand, one can take control of either scenario.
Drain Plug With Stripped Threads
A drain plug with stripped threads can often be removed simply by rotating it in a counterclockwise fashion, with a wrench or socket. However, it might be necessary to provide a slight amount of outward force on the plug itself, in order to get any remaining threads to engage.
This can typically be accomplished with the use of a flathead screwdriver, wedged between the external surface of the oil pan, and the underside of the drain plug’s head.
If the head of the stripped drain plug is flush against the body of your engine’s oil pan, channel-lock pliers can be used to rotate the plug counterclockwise, while pulling outward. In most instances, this method will prove sufficient for removal, even under less than ideal circumstances.
Drain Plug With a Rounded Off Head
The removal of a drain plug with a rounded head, calls for a different strategy altogether. Removing a drain plug in this state typically requires the use of a specialty socket called a bolt extractor, which features spiraled internal grooves. Irwin Tools makes one of the better sets and it doesn’t cost a fortune.
A socket of this nature can be tamped lightly onto the head of such a drain plug, with the use of a dead blow hammer. Doing so causes the socket’s internal groves to bite into the head of a rounded-off bolt, thereby simplifying the process of extraction.
See Also: Lug Nuts Won’t Come Off? (Step-by-Step Removal)
How to Repair a Stripped Oil Pan Drain Hole

In certain instances, an oil pan’s drain hole can become stripped, making it impossible to torque your engine’s drain plug as desired. This can be quite troubling, leaving many motorists to fret over what seems like an irreconcilable issue.
Luckily, such issues can often be remedied with the use of a quality oil drain plug repair kit, such as those manufactured by Lisle or Supercrazy Tools.
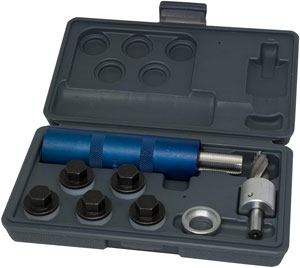
Oil drain plug repair kits focus on removing any remaining damaged threads within an oil pan’s drain hole, before rethreading this drain hole to accept a slightly oversized plug.
When done correctly, this procedure allows a new drain plug to be installed in the same manner as the vehicle’s OE plug. This eliminates the need to purchase and install a replacement oil pan, thereby saving a substantial amount of time and money.
How to Use an Oil Drain Plug Repair Kit
The general steps for using an oil drain plug repair kit are as follows.
#1 – Remove Damaged Threads
Many oil drain plug repair kits feature a reaming bit, which removes the remains of any pre-existing threads. This provides a renewed surface, which can be tapped to accept a new drain plug.
#2 – Tap New Threads
A specially sized tap will then be carefully threaded into the oil pan’s drain hole. Doing so cuts new threads, to which an oversized drain plug will grab. In most cases, a tap of this nature will be rotated several turns in a clockwise fashion, before being rotated 1-2 turns in the opposite direction.
This process will be repeated until the tap has passed through the full depth of the oil pan’s drain hole.
#3 – Inspect Threads
After a new set of threads have been tapped into your oil pan’s drain hole, one should stop to carefully inspect their handy work. Make sure that all threads are cut evenly, and are free of excess metal shavings.
#4 – Flush Out Oil Pan
After re-tapping your oil pan’s drain hole, it is always a good idea to flush a ½ quart of oil through your vehicle’s engine, prior to installing a new drain plug. This will eliminate the vast majority of metal shavings that would otherwise circulate throughout your engine’s oil.
#5 – Install Oversized Drain Plug
You will now thread a new drain plug into your oil pan’s newly rethreaded drain hole. Care should be taken when tightening this plug for the first time, in order to identify any abnormalities.
The drain plug itself should be torqued to the value specified by your repair kit’s instructions. After torquing the drain plug, check to ensure that its sealing washer is seated evenly around the drain hole’s outer perimeter.
#6 – Refill Oil And Check For Leaks
Verify the integrity of your repair, by checking for leaks after refilling your engine’s crankcase to capacity with fresh oil. If no leaks become evident, start your engine, and once again check for leaks.
This inspection should be repeated once more, after driving your vehicle for a short distance. If your oil pan and drain plug still appear dry following the conclusion of a short test drive, there will be little reason to anticipate further issues of any type.
Preventing Stripped Drain Plug Threads
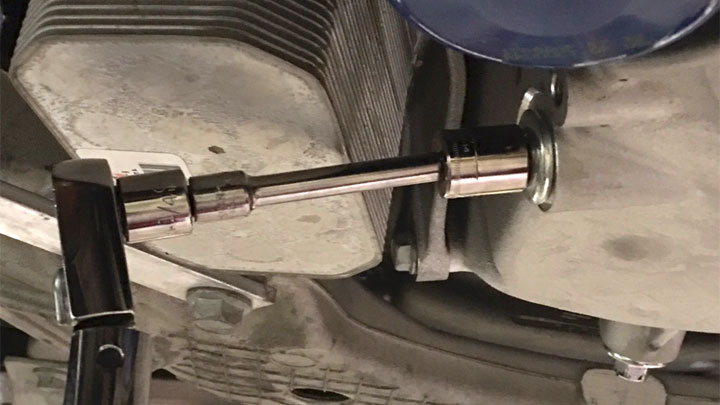
Though it is impossible to avoid the possibility of encountering drain plug damage inflicted by a vehicle’s previous owner, several precautions can be taken to avoid causing such damage yourself. By following these key procedural points, the chance of striping a drain plug is all but eliminated.
The first of these precautions involves using a properly sized wrench or socket during every oil change. Doing so significantly reduces the chance of rounding off a drain plug’s hexagonal head. Information regarding drain plug size for a particular vehicle can often be found via the Internet, or by consulting a manufacturer-specific service manual.
One should also adhere to the appropriate torque specifications when tightening their vehicle’s drain plug. Doing so greatly reduces the chance of damaging the threads of your engine’s drain plug or oil pan.
A torque wrench can be used to prevent over-torquing, while also ensuring that the drain plug in question is not left loose, to any degree.


