Last Updated on May 6, 2022
Today’s vehicles are technical marvels, in comparison to those manufactured some 30-40 years prior. The modern car, truck, or SUV is completely capable of monitoring its own performance, in a bid to enhance operational efficiency. Changes to a vehicle’s fuel trim and ignition timing can even be conducted on the fly, when necessary.
These advancements were necessitated during a time in which automakers struggled to meet newly-implemented EPA mandates of the day. Meeting these standards necessitated the use of monitoring devices, such as a vehicle’s O2 sensor. When operating as intended, these sensors provide a vehicle’s ECM with valuable feedback.
However, sensors of this type are prone to occasional failure. This includes the above mentioned O2 sensor.
When this occurs, a check engine light is typically illuminated, and a DTC (diagnostic trouble code) is logged. This is the case with DTC P0036, which describes a fault condition related to one of a vehicle’s O2 sensors.
Read on to learn more about DTC P0036, as well as how to remedy the root cause of such a fault, should it be encountered in the future.
What Does Code P0036 Mean?
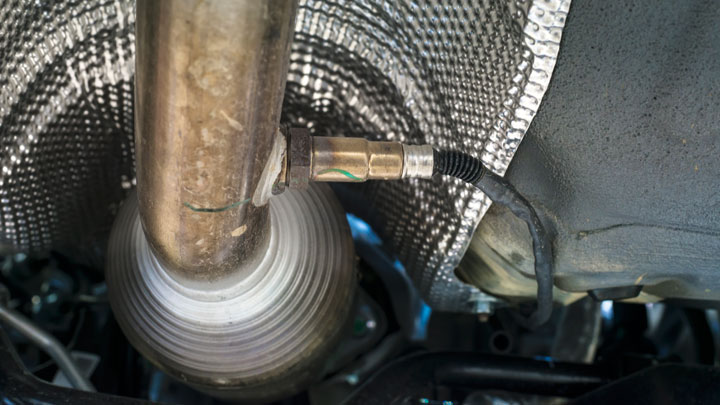
Diagnostic trouble code P0036 is indicative of fault within a vehicle’s Bank 1, Sensor 2 oxygen sensor heater circuit. This refers to the internal heating element located within an O2 sensor, which energizes to provide heated operation prior to exhaust warm-up.
To understand this concept, one must first familiarize themselves with the O2 sensor heater operation.
Today’s vehicles utilize a series of oxygen sensors to provide feedback regarding both combustion and catalytic converter efficiency. In the case of the Bank 1, Sensor 2 oxygen sensor, the latter is true. However, to provide accurate feedback of this type, the sensor in question must be up to operating temperature.
To accomplish this, O2 sensors employ the use of built-in heating elements, which provide instantaneous heating upon start-up. However, on occasion, these heating elements, or their corresponding circuits do fail.
This is the case when DTC P0036 is stored, as a vehicle’s ECM/PCM has detected a fault within the Bank 1, Sensor 2 oxygen sensor’s heating element circuit.
Related: Code P0030, Code P0031, Code P0037
Symptoms of Code P0036

While many fault codes are accompanied by a host of additional symptoms, this is not typically the case with DTC P0036. In many cases, the sudden appearance of a newly illuminated check engine light will be the only sign that something is awry. There is little chance of any driveability concerns presenting themselves.
This stems from the fact that the bank 1, sensor 2 oxygen sensor identified by this DTC is located downstream of the catalytic converter.
Therefore, the sensor itself is used for little more than determining catalytic converter efficiency. This sensor plays no true role in determining an engine’s fuel trim values.
Causes of Code P0036

There are a number of potential causes of diagnostic trouble code P0036. Therefore, it is important to recognize and understand the most probable of these root causes, when attempting to remedy the P0036 DTC itself.
The following are several of the most common causes of DTC P0036.
- Corroded or non-existent exhaust ground
- Open in O2 sensor heater circuit
- Open in wiring to O2 sensor heater circuit
- Faulty ECM/PCM
Is Code P0036 Serious?
Diagnostic trouble code P0036 is generally considered to be of minor-to-moderate severity. The Bank 1, Sensor 2 oxygen sensor plays little role in determining how a vehicle runs, thus presenting few, if any, driveability related symptoms.
This predominantly stems from the fact that the heater circuit within this sensor (referred to by P0036) runs for no more than a few seconds following vehicle startup.
A vehicle’s Bank 1, Sensor 2 oxygen sensor is also located downstream of the catalytic converter and exists to provide feedback regarding catalytic converter efficiency. This differs from the upstream O2 sensor, which provides valuable feedback used in determining an engine’s fuel trims, for that respective bank.
Nonetheless, the root cause of a P0036 trouble code should be diagnosed and repaired at the first available opportunity. This is especially important in states that require yearly emissions testing, as the presence of DTC P0036 will often lead to a testing failure.
If you do not feel up to the task of handling such repairs yourself, schedule an appointment with a trusted auto service center as soon as possible.
How to Fix a Code P0036

The following steps can be followed to assist in diagnosing and remedying the root cause of DTC P0036. As always, be sure to consult factory-specific service literature for your particular vehicle, before attempting any such repairs.
#1 – Check For the Presence of Additional DTCs
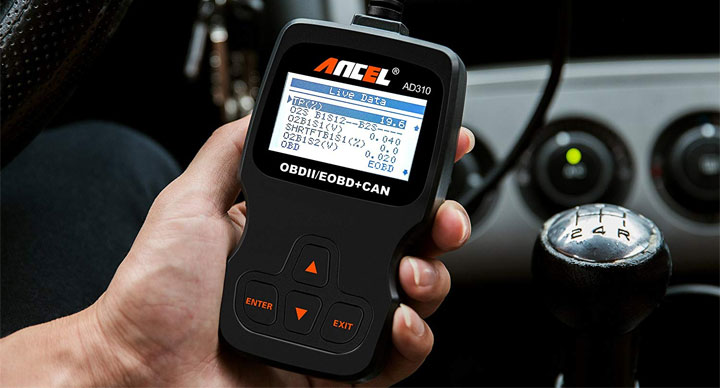
Before beginning the diagnostic process, check for the presence of additional diagnostic trouble codes with a reputable OBD2 scanner. Any such codes should be thoroughly diagnosed and remedied, before proceeding to step #2.
#2 – Perform Visual Inspection
Begin the diagnostic process by thoroughly inspecting the affected vehicle’s Bank 1, Sensor 2 oxygen sensor. Look for any signs of damage to the sensor’s wiring, or the sensor itself. Make all necessary repairs before proceeding.
#3 – Check Heater Resistance
Using a digital multimeter, check resistance across the sensor’s heater circuit. A model-specific wiring diagram should be used when determining which pins of the unhooked sensor to probe.
A certain amount of resistance should be present in this circuit, while a “0L” reading would indicate a failed sensor. The exact permissible resistance range for your vehicle’s oxygen sensor can be found by consulting factory service literature.
#4 – Check For Power/Ground
With the affected O2 sensor unplugged, check for the presence of power and ground at each respective pin within the corresponding pigtail.
Again, the use of a model-specific wiring diagram will be required. These values should be checked within the first few seconds following vehicle startup.
#5 – Locate Point of Power/Ground Loss
If testing during step #4 has indicated a loss of power and ground to the affected sensor, one must pinpoint the exact point at which this loss has occurred. This can be done by backtracking to the pin at which each signal originates at the vehicle’s ECM/PCM.
If power/ground is present at the ECM, defective circuit wiring is to blame. On the other hand, the non-existence of power/ground at the vehicle’s ECM/PCM would place suspicion upon a faulty control module.


